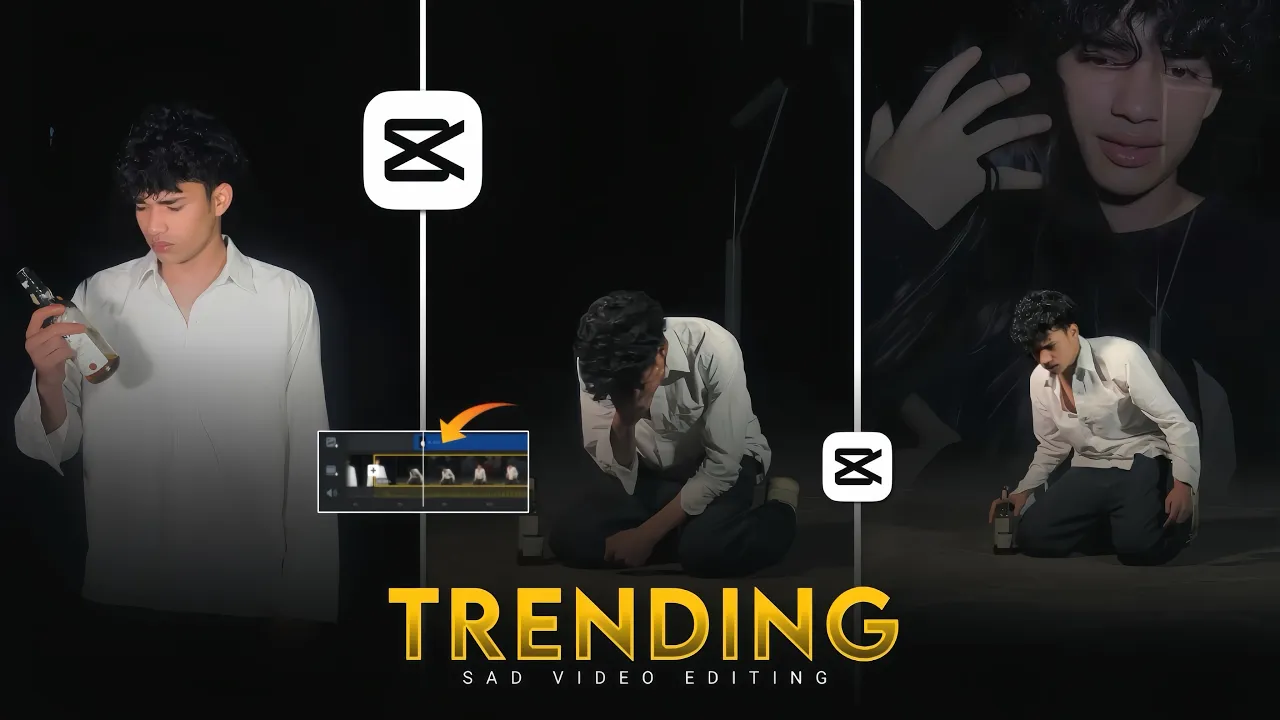
Sad-style emotional videos are trending heavily on platforms like Instagram and YouTube right now. If you’ve ever wondered how to make these cinematic, music-synced videos, this step-by-step tutorial will help you create them quickly and professionally — even if you’re a beginner.
Step 1: Shooting Your Video
Before you start editing, you’ll need two short clips. Here’s how to capture them:
- First Video: Act according to the theme — show genuine emotions to match the sad tone.
- Second Video: Repeat the same style of acting for continuity.
- Pro Tip: While shooting, play your background music on another phone to match your expressions with the beat. This makes syncing easier during editing.
Step 2: Importing Footage into CapCut
We’ll be using the CapCut app for editing:
- Open CapCut and tap New Project.
- Select both your recorded videos and tap Add.
- Mute the original background audio from the clips.
- Add your chosen sad background music through the Add Audio option.
Step 3: Trimming and Syncing
Play through your first video and cut out unnecessary parts using the Split and Delete functions. Then:
- Ensure the video matches the music’s tempo.
- If the clip is too long, use Speed adjustments — slow motion where emotions peak, and fast motion where needed to keep up with the beat.
Step 4: Editing the Second Video
Repeat the same trimming, syncing, and speed adjustments for the second video. Aim for both clips to blend seamlessly with the music.
Step 5: Adjusting the Frame
To add a cinematic feel, slightly zoom in or out on certain parts of the video. This can enhance emotional impact and focus attention on facial expressions.
Step 6: Adding Overlays
To create dynamic effects:
- Identify the beats in your music.
- At those beats, go to Overlay and add an extra clip.
- Use Masking to blend the overlay naturally into the main video.
Step 7: Applying Effects
For dramatic impact, apply suitable video effects:
- Go to Effects → Video Effects.
- Select an effect that matches the mood (for example, “Edge Glow” or “Light Leak”).
- Adjust intensity for a balanced look.
Step 8: Color Grading
Color grading is key for setting the mood:
- Increase Sharpness slightly for clarity.
- Adjust brightness and contrast to make details stand out.
- Increase Whites if your video appears too dark.
- Optionally, add filters or use graphs for advanced adjustments.
Final Preview
Once everything is synced and graded, play the video from start to finish. Make small adjustments if needed until your video feels perfectly timed and emotionally impactful.
Conclusion
By following these simple steps, you can create emotional sad-style videos that resonate with viewers and perform well on social media. This editing method is easy, beginner-friendly, and works perfectly for trending content.
If you enjoyed this tutorial, make sure to check out more editing tips and creative tools to take your video production to the next level.