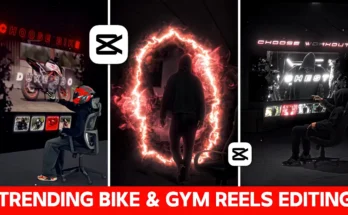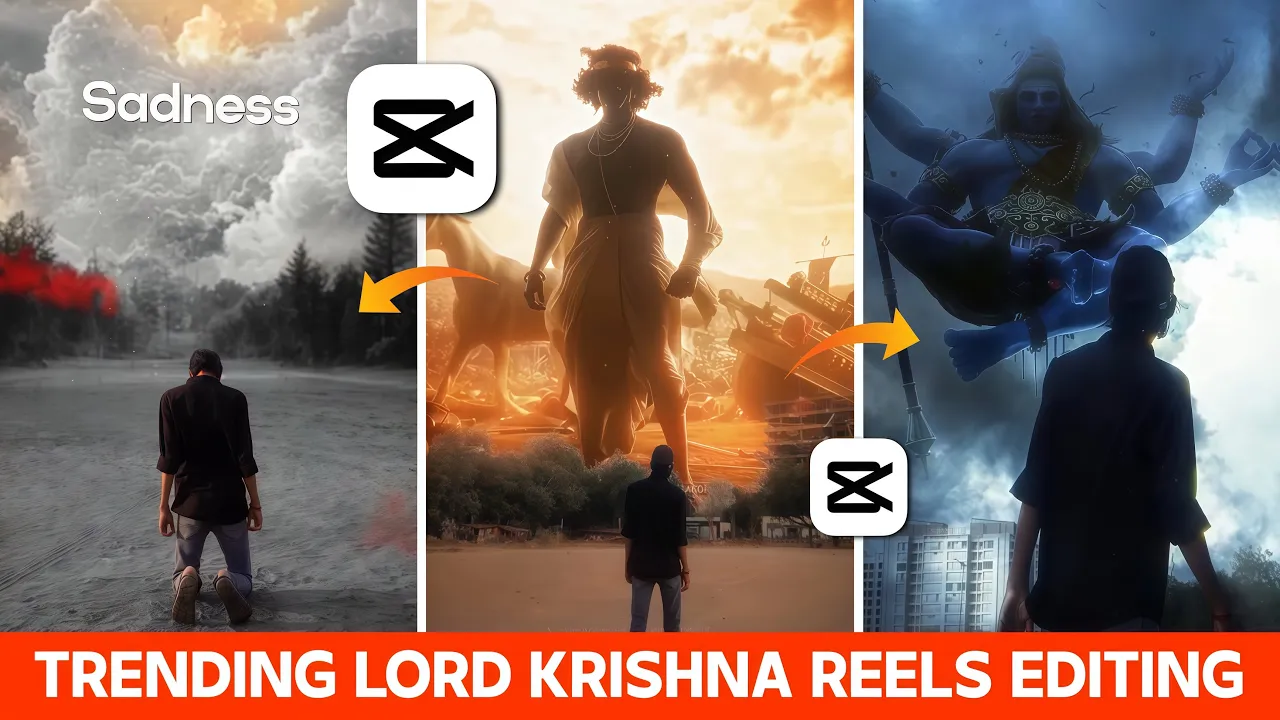
How to Create a Professional Krishna Video for Instagram (Step-by-Step Tutorial)
Hey friends, in today’s post, I’m going to show you how to edit a Krishna-themed video just like the ones that are trending on Instagram right now. These videos are going viral because they look professional, have great effects, and connect emotionally with the audience.
If you’ve been on Instagram lately, you’ve probably seen these Krishna edits everywhere. Everyone is trying them, but only the ones with perfect editing stand out and go viral. In this guide, I’ll walk you through how you can create a professional Krishna video using just your mobile phone—no expensive equipment required!
Step 1: Shooting Your Video
First, you’ll need some raw footage. You can act out scenes or shoot related visuals based on your concept. In the example I’m using, we recorded scenes showing devotional and dramatic expressions to match the Krishna theme. Don’t overthink it—just keep your shots clean and stable.
Tip: Try to shoot in good lighting for better results, as editing can only do so much if the original video is dark or blurry.
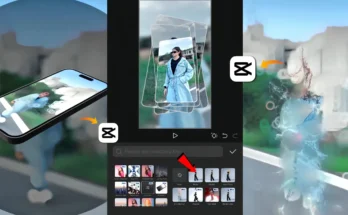
Step 2: Importing Footage into CapCut
For editing, we’ll use the CapCut app. Open the app, start a new project, and import all your recorded clips.
Once your clips are loaded:
- Mute the original audio of each clip.
- Add background music that matches the vibe. You can find devotional or instrumental tracks from royalty-free music sites like Pixabay Music or Bensound.
- Make sure your video cuts align with the beats of the music for a polished look.
Step 3: Adding Slow Motion for Impact
Slow motion adds drama to devotional videos. In CapCut, tap on the clip, go to Speed, and either use the Curve feature for more control or reduce the speed manually. Apply slow motion at moments that match emotional highs in the music.
Step 4: Changing the Sky Background
To make your video look cinematic, you can replace the sky with a beautiful Krishna-themed background.
- Go to Overlay in CapCut and add an image of a divine or colorful sky.
- Use Masking to blend it naturally with your original video.
- Adjust brightness and saturation to match your scene.
You can find free sky backgrounds from Unsplash or Pexels.
Step 5: Adding Text and Animation
Texts like “जय श्री कृष्णा” (Jai Shri Krishna) or quotes from the Bhagavad Gita add depth.
- Add your text in CapCut.
- Apply keyframe animations to move them slightly for a dynamic effect.
- Use smooth fonts that match the devotional vibe.
Step 6: Adding Om Namah Shivaya Tattoo Effect
For a unique touch, add an Om Namah Shivaya tattoo overlay on the hand in your video:
- Add the tattoo image as an overlay.
- Resize and place it on the hand.
- Use keyframes to track the hand movement so it stays in place.
Step 7: Adding Shiva Overlays
You can also blend Lord Shiva overlays into your Krishna video for a combined devotional effect:
- Add the overlay video or image on top of your main video.
- Use Chroma Key or Masking to integrate it seamlessly.
Step 8: Black and White Effect Transition
To make emotional scenes stand out, add a black-and-white transition:
- Split the video at the point you want the effect.
- Reduce saturation and adjust brightness to create a black-and-white look.
- Use masking to create a gradual transition between color and black-and-white.
Step 9: Final Touch – Color Grading
Once all edits are done, adjust the colors for a cinematic finish. Increase contrast slightly, enhance highlights, and add a soft warm tone to match the devotional mood.
Final Thoughts
That’s it! With these steps, you can create a professional Krishna video that’s perfect for Instagram Reels, YouTube Shorts, or TikTok. Remember, timing your edits with the music and keeping the visuals smooth are key to making your video go viral.
If you found this tutorial helpful, share it with your friends and check out more editing tips at CapCut’s official website or explore free devotional resources on Unsplash.