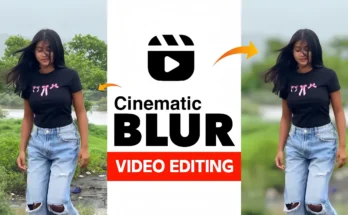
If you have ever wondered how creators make those smooth and professional-looking cinematic videos, this guide is for you. Many beginners struggle with shooting and editing, but the truth is: cinematic videos are not that difficult to create. With the right steps and the right app, you can make your own trending edits.
In this tutorial, we’ll cover everything from shooting raw footage to editing with CapCut, adding music, transitions, slow motion, filters, and finishing with color grading and glow effects. By the end, you’ll be able to create a video that looks professional and visually stunning.
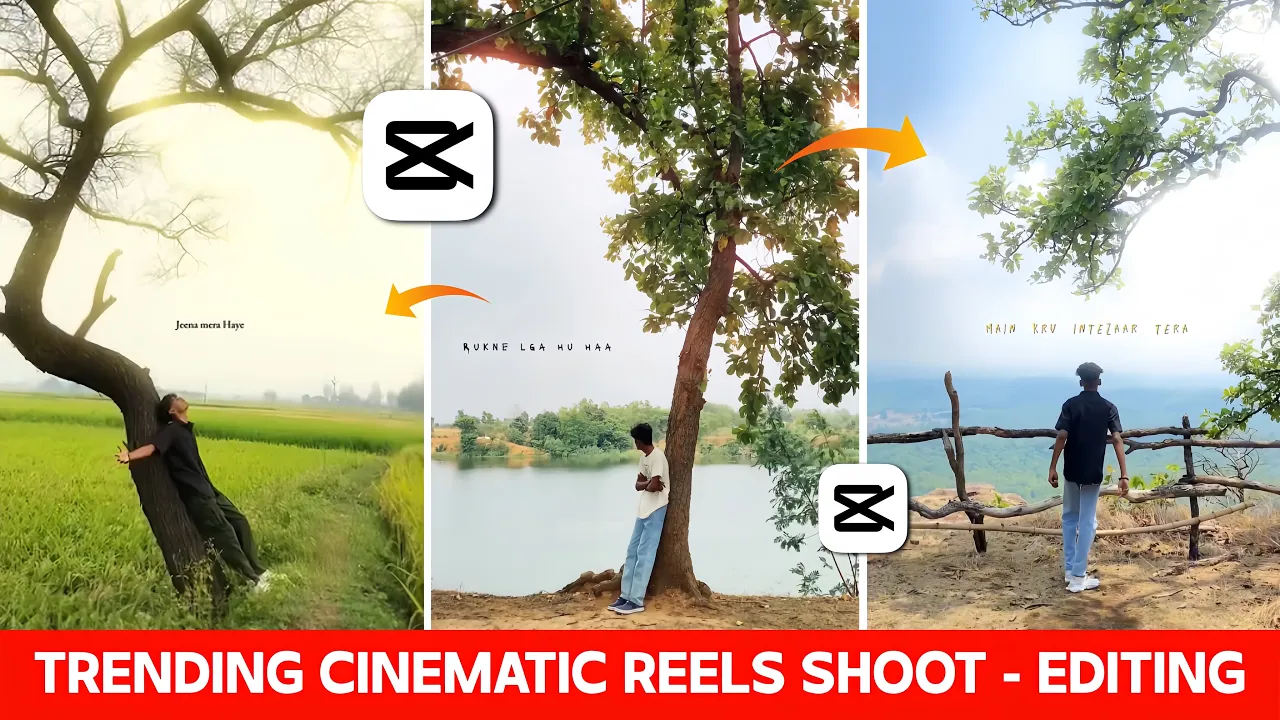
1. Shooting the Raw Footage
The first step in making a cinematic video is capturing good raw footage. Don’t overthink it. Just find a few different locations and shoot short clips while walking, moving the camera smoothly, or capturing natural movements. You don’t need expensive gear—your smartphone is enough.
Tip: Experiment with different angles and backgrounds. The more variation you have, the more editing options you’ll get later.
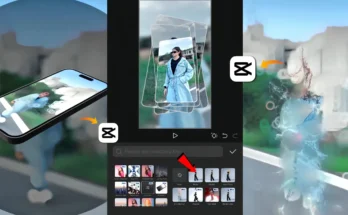
2. Importing and Organizing Clips in CapCut
Once you’ve recorded your clips, open the CapCut app and create a new project. Import all the videos you shot. At this stage, don’t worry about the order; you can rearrange them during editing.
After importing, mute the original background noise of your clips. Then, go to the “Add Audio” option and import the music you want to use. Pixabay Music is a great source of free background tracks if you don’t already have one.
3. Editing to the Beat of Music
One of the secrets to cinematic editing is syncing video cuts with the beats of the music. Play your chosen track and identify where the beats drop. In CapCut, you can mark those beat points to guide your editing.
Now start trimming your clips. Remove any unwanted sections and align the important visuals with the music beats. This synchronization makes your video look polished and professional.
4. Applying Slow Motion
Cinematic videos almost always use slow motion to add drama and depth. To apply it in CapCut:
- Tap on the video clip.
- Select Speed → Custom.
- Adjust the speed curve by lowering points to create a smooth slow-motion effect.
- Enable “Better Quality” for smoother playback.
Repeat this for multiple clips, but make sure the slow-motion sections also align with the music beats. Done correctly, this gives your video a breathtaking cinematic feel.
5. Adding Transitions and Animations
Next, make your video flow seamlessly with transitions. After splitting clips, tap the white transition box in CapCut. The most commonly used transition in cinematic edits is Black Fade. Apply it where necessary, but don’t overuse it, as too many effects can ruin the natural flow.
You can also use animations like cross-zoom, slide, or fade-in effects. Apply them at beat-heavy moments for extra impact. A combination of subtle transitions and animations helps your edit look more engaging.
6. Color Grading Your Video
No cinematic video is complete without color grading. This step enhances the mood and makes your footage look professional. To do this in CapCut:
- Go to Adjustment settings.
- Increase sharpness slightly (around 30%). Avoid going too high, or the video will look over-edited.
- Use HSL settings to adjust colors:
- Increase green for background enhancements.
- Brighten skin tones with the second color option.
- Add some warmth with yellow adjustments.
For additional tips, check out Adobe’s guide to color grading.
7. Adding Glow and Final Filters
Glow effects give cinematic videos a magical look. Many beginners use random glow filters that look artificial, but here’s the better method:
- Go to the Filters section in CapCut.
- Apply the Flash CCD filter. This gives a smoother glow compared to basic effects.
- Adjust intensity as needed.
For the finishing touch, try using filters like Green Orange to give your video a cinematic film vibe. Make sure to apply the same filter to all clips for consistency.
8. Exporting and Sharing
After you’ve completed editing, review your entire video. Ensure that transitions are smooth, the beats match perfectly, and the color grading is consistent. Once satisfied, export the video in high quality (preferably 1080p or 4K if available).
You can then share your cinematic video on platforms like Instagram Reels, TikTok, or YouTube Shorts. These platforms love cinematic content, and well-edited videos can easily go viral.
Final Thoughts
Creating a cinematic video might look complicated at first, but once you understand the step-by-step process—shooting, syncing with music, adding slow motion, transitions, color grading, and glow effects—it becomes quite simple. The more you practice, the better your edits will look.
If you want to experiment further, you can also try advanced tools like Adobe Premiere Pro or Final Cut Pro, but for beginners, CapCut is more than enough.
So, grab your phone, start shooting some raw footage, and follow this guide to create your first cinematic masterpiece!
Recommended Resources
- CapCut – Free Editing App
- Free Music for Videos
- Beginner’s Guide to Color Grading
- Instagram Reels
- TikTok – Share Your Cinematic Videos
Did you enjoy this tutorial? Share your cinematic edits with us in the comments below!