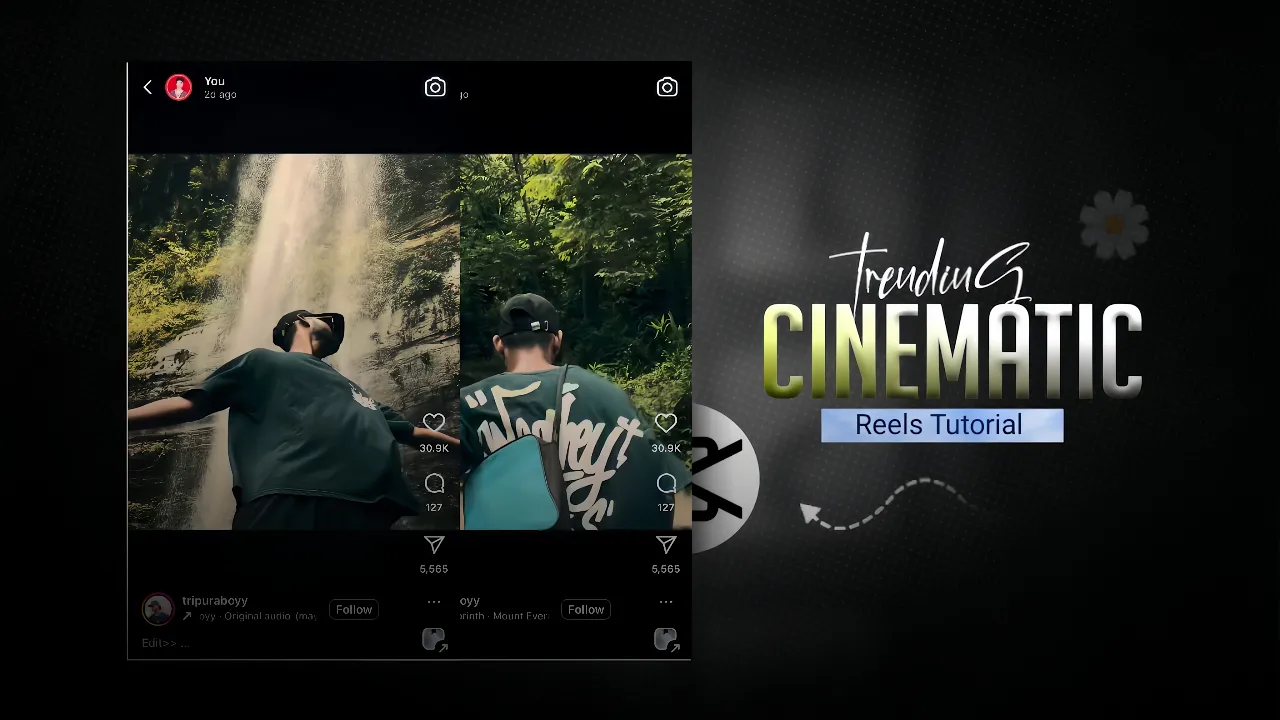
Instagram Reels are currently one of the fastest ways to go viral on social media. If you’ve been wondering how creators are making those smooth, beat-synced, slow-motion trending videos, you’re in the right place. In this post, we’ll break down step-by-step how to edit Instagram Reels using the CapCut app. The process is simple, beginner-friendly, and perfect for anyone who wants to grow on Instagram.
Why Instagram Reels Are Trending
Reels are designed for short, engaging, and catchy content. The algorithm promotes videos that use trending music, smooth editing, and eye-catching effects. By learning how to sync your videos with the beat of a song and adding creative transitions, you can significantly increase your chances of going viral.
👉 Learn more about Instagram Reels best practices
Editing Tools You’ll Need
The main application we’ll use is CapCut, a free and powerful video editing app available on both Android and iOS.
- Download CapCut from App Store or Google Play.
- Prepare your video clips and select the background music you want to use.
Step 1: Start a New Project
Open the CapCut app and tap on New Project. Select the video clips you want to include in your Reel. Don’t worry if they look plain at first—editing will completely transform them.
Step 2: Add Music and Sync to the Beat
Music is the heart of Reels. To make your videos engaging, always match your edits with the beats of the soundtrack.
- Add your chosen audio track inside CapCut.
- Play the music a couple of times and carefully note where the beats occur.
- Split and trim your video clips so they align with the beats of the music.
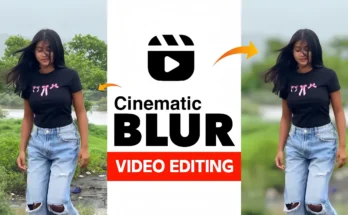
Step 3: Apply Slow Motion
Slow-motion adds a smooth, cinematic touch. Here’s how to do it:
- Select a video clip.
- Tap on Speed → Custom.
- Place a point where you want slow-motion to start, then drag the line downward to slow it down.
- Choose Smooth and Better Quality for the best effect.
Remember: when you slow down a clip, it becomes longer, so adjust it again to match the music beat.
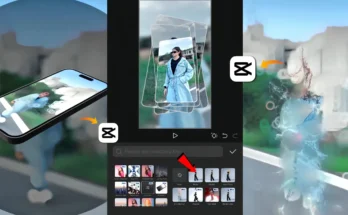
Step 4: Add Overlays and Transitions
Professional-looking Reels often use overlays and transitions. For example, you can add a black photo overlay and animate it using keyframes to create a flicker or fade effect.
For transitions, use options like Delay Zoom, which makes the video switch look stylish and energetic.
Step 5: Color Grading
Color grading improves the overall look of your video. In CapCut, go to Adjustment and tweak:
- Sharpen (around 40%)
- Brightness and contrast for clarity
- Apply filters like Flash CCD for glow and cinematic effects
Step 6: Final Touches
After syncing clips, applying slow motion, adding overlays, and color grading, your video will look polished and ready for Instagram. Export it in high quality and upload it directly as a Reel.
Tips to Make Your Reel Go Viral
- Use trending audio tracks (find them on TikTok Trending Sounds or inside Instagram Reels).
- Keep your videos short and engaging (7–15 seconds works best).
- Add captions and engaging hooks in the first 3 seconds.
- Post consistently and use relevant hashtags.
Conclusion
Making trending Instagram Reels with CapCut is much easier than it looks. By syncing clips with music, using slow motion, adding overlays, and applying creative transitions, you can make professional-quality videos right from your phone. The more you practice, the faster you’ll become at editing.
If you want to learn more about video editing apps, check out CapCut Official Website.
Did you find this tutorial useful? Share it with your friends and start creating your own viral Instagram Reels today!