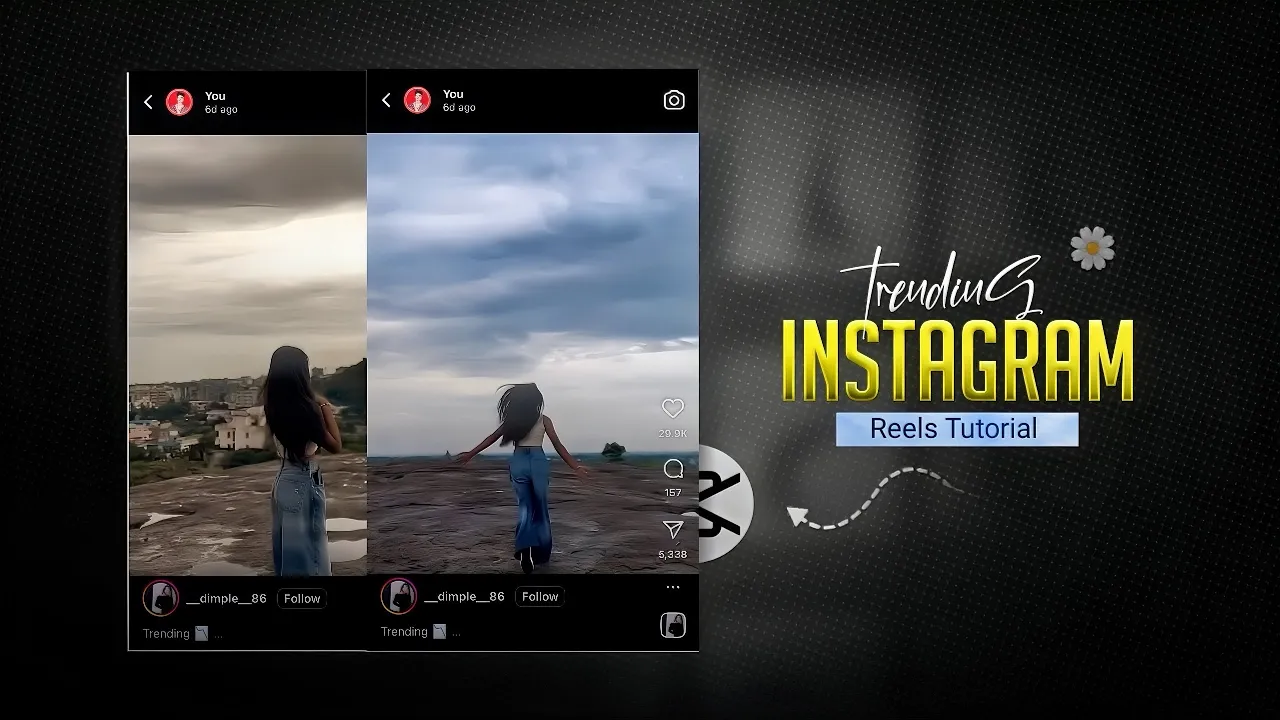
Instagram Reels continue to dominate the short-form video world, and creating trending videos is one of the best ways to grow your account in 2025. In this post, I’ll walk you through a step-by-step tutorial on editing viral Instagram Reels using the CapCut app. Whether you are new to editing or already familiar, this guide will help you master beat sync, slow motion, transitions, and effects to make your videos stand out.
Why Instagram Reels Are So Powerful
Reels have one of the highest reach and engagement rates on Instagram. If you want to grow followers, build a personal brand, or promote your business, creating Reels that sync with trending music and effects is crucial. According to Later, Reels often outperform regular posts in terms of impressions and shares.
Step 1: Import Raw Footage in CapCut
To get started, open the CapCut app. Import your raw video clips into a new project. Simply tap on “New Project”, select the clips, and add them to your timeline.
Step 2: Add and Sync Music
Music is the backbone of Reels. Tap on “Add Audio” and select a trending track. Play the track carefully and identify where the first beat drops. Mark that point on the timeline so you can align your video cuts with the beat. This makes the edit look smooth and professional.
Pro Tip: Use the Tunefind or Soundcharts to discover trending songs for Instagram Reels.
Step 3: Trim and Split Clips
Cut unnecessary parts of your video and align the key clips with the music beats. Use the “Split” option to remove extras. Don’t delete those completely—you may reuse them later with slow motion or transitions.
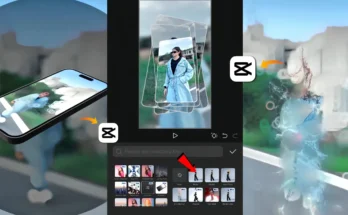
Step 4: Add Slow Motion Effects
One of the most eye-catching parts of Reels is smooth slow-motion. In CapCut, select the clip, tap on “Speed” → “Curve”, then adjust the points to create a slow-down effect. Choose “Smooth Slow” and select “Better Quality” for the most professional result.
Step 5: Use Keyframes and Zoom Effects
To add cinematic movement, place a keyframe at the beginning and another at the end of a clip. Slightly zoom in or zoom out using the graph options like “Ease In” or “Rebound Out”. This makes your video dynamic and less static.
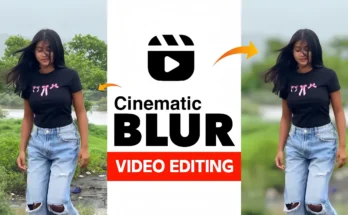
Step 6: Apply Special Effects
- Oblique Blur: Adds a stylish blur transition.
- Slide Left: Creates a smooth sliding transition between clips.
- Zoom + Blur: Perfect for emphasizing beats.
You can find these effects under the Effects → Video Effects tab in CapCut. Adjust them according to the vibe of your music.
Step 7: Color Grading and Filters
Filters and color adjustments can transform your video. Increase sharpness slightly, adjust saturation for vibrancy, and test different filters until you find one that fits your theme. CapCut offers dozens of built-in filters to experiment with.
For professional inspiration, check out Adobe’s Color Grading Guide.
Step 8: Export and Resize
Once editing is complete, export your video. If needed, re-import it into CapCut to crop the top and bottom slightly using the Transform → Resize feature. This ensures your video is perfectly framed for Instagram Reels.
Why Editing Without Templates Is Better
Although CapCut provides ready-made templates, learning to edit manually is much more rewarding. You gain creative freedom, improve your editing skills, and make content that feels unique. Templates can make your content look repetitive, while custom edits set you apart.
Final Thoughts
By following this step-by-step guide, you can create Instagram Reels that look professional, sync perfectly with music, and grab attention. Experiment with different effects, transitions, and filters until you find your own editing style.
If you want to explore more, check out:
Now it’s your turn! Open CapCut, pick a trending song, and start editing. With consistent practice, your videos could be the next ones to go viral on Instagram.