How to Create Cinematic Videos Easily Using the CPK App
If you’ve ever seen stunning cinematic videos and wondered, “How did they shoot and edit this?” — you’re in the right place. In this tutorial, we’ll break down the exact process of shooting, editing, and color grading cinematic videos using the CPK application. Even beginners can follow along and create professional-quality results without expensive gear.
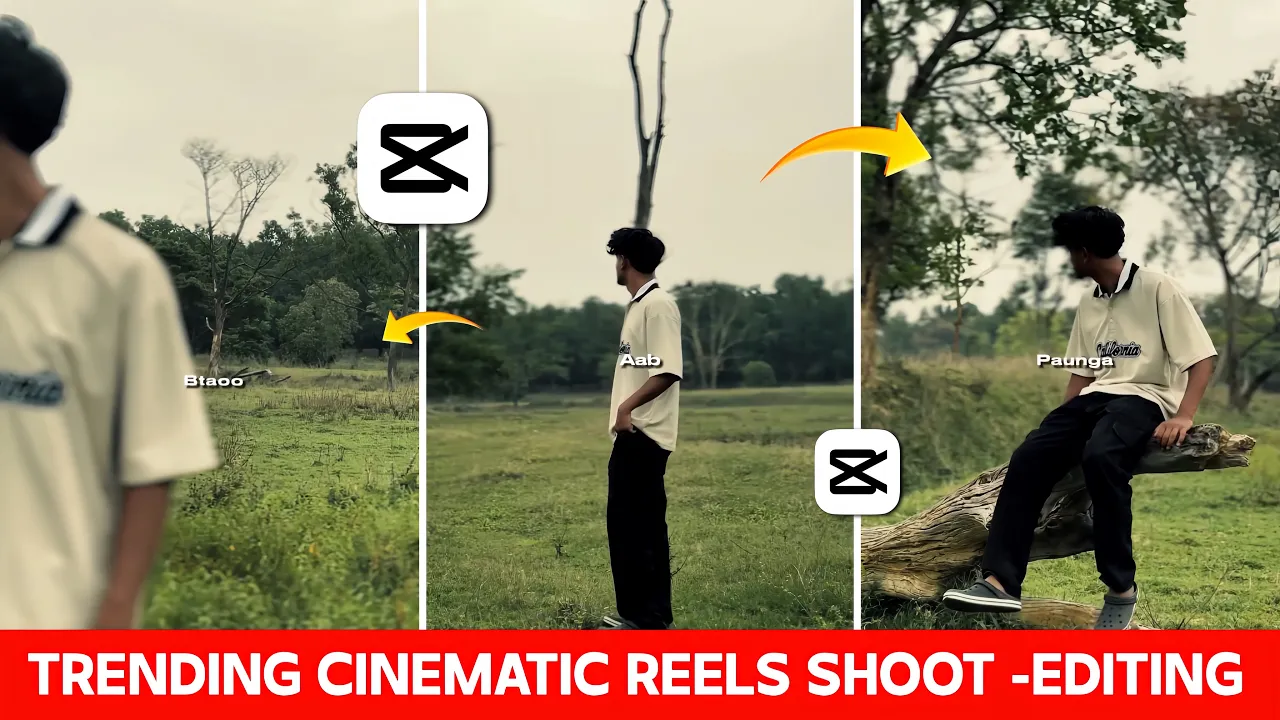
1. Shooting the Footage
The first step in making any cinematic video is capturing your raw footage. This is the foundation of your final product. Here’s what to do:
- Choose multiple locations for variety in your shots.
- Shoot the same scene from different angles — front-facing and side views work great.
- Keep the camera steady and ensure proper lighting for better results.
Your raw clips don’t have to be perfect. Some parts will look great, and some won’t — that’s where editing comes in.
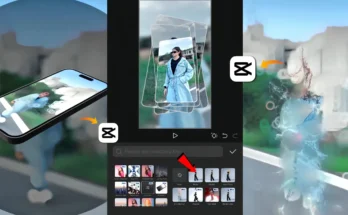
2. Importing and Organizing Clips in CPK
Once you’ve shot your footage:
- Open the CPK App (available on Google Play and App Store).
- Tap New Project and select all your clips.
- Mute the background noise of each clip.
- Import your chosen music track by tapping Add Audio → Extract/Import.
3. Trimming and Selecting the Best Parts
Good editing is all about selecting only the best moments. Go through each clip and:
- Identify the parts that look visually strong.
- Split and delete extra/unwanted sections.
- Arrange clips in the sequence that best matches your story or music beats.
4. Adding Slow Motion for Cinematic Effect
Slow motion can dramatically enhance the mood of your video:
- Tap Speed → Custom in CPK.
- Drag the speed curve down where you want slow motion.
- Select Smooth Slow and Better Quality for best results.
5. Syncing to Music Beats
To make your video flow with music:
- Play your track and locate the first beat or lyric cue.
- Split the clip at the beat point.
- Delete any extra footage before the beat to ensure perfect sync.
Remember, lyrics can also act as beat cues, not just drum sounds.
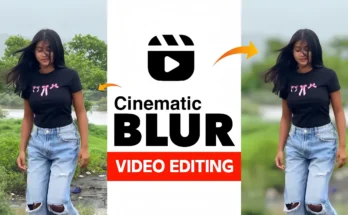
6. Adding Blur Effects for Transitions
Instead of fancy transitions, use a subtle blur for a professional touch:
- Go to Video Effects → Lens → Blur.
- Adjust blur intensity to taste.
- Use keyframes to start with a blur and gradually remove it.
- Duplicate this effect for each transition point.
7. Adding Lyrics to the Video
For music videos, you can sync lyrics directly on screen:
- Listen to the song carefully and note down each lyric line.
- Use Text Tool in CPK to type the lyrics.
- Apply shadow for better readability.
- Add simple text animations to make it visually engaging.
This process takes time, but it adds a professional touch to music-based videos.
8. Color Grading for a Cinematic Look
Color grading is the final step to make your video pop:
- Go to Adjust → Increase Sharpness to around 40–45.
- Apply the Hustle Black filter for a high-contrast, moody effect.
- Tweak temperature, contrast, and highlights for the desired mood.
- Optionally, use the Blue Very filter for a cooler cinematic tone.
Final Result
By following these steps — shooting well, trimming carefully, using slow motion, syncing with music, adding blur effects, and applying proper color grading — you can create a cinematic video that looks like it was made by a pro.
Additional Resources
- Adobe Premiere Pro for Professional Editing
- YouTube Cinematic Editing Tutorials
- CapCut (Alternative to CPK)
Have questions or want more tutorials? Drop a comment below and I’ll be happy to help. Don’t forget to like, share, and subscribe if you found this guide useful!
Happy editing!