How to Edit Trending Instagram Reels with CapCut (CPK App) – Full Step-by-Step Guide
Hello guys, welcome back to my YouTube channel! In today’s tutorial, I’m going to show you how to edit trending Instagram Reels that are currently going viral. We’ll cover everything step by step—from music syncing and slow motion effects to color grading and visual transitions. Even if you’re a beginner with zero knowledge of video editing, by the end of this guide you’ll be able to create professional-looking reels.
Step 1: Opening CapCut (CPK App) Properly
Before you start editing, make sure you’re using the CPK version of CapCut. To avoid glitches and ensure all effects work smoothly, connect your phone to a free VPN before opening the app. Once connected, launch CapCut and create a new project.
Step 2: Adding Video and Music
- Import your main video clip into the project.
- Mute the original background audio.
- Tap on “Add Audio → Extract Music” and insert your chosen track.
- Sync the video with the beats of the music.
👉 Pro Tip: To download copyright-free music for Instagram Reels, check out Uppbeat.
Step 3: Slow Motion & Speed Adjustments
Trending reels often use slow-motion effects combined with sudden fast-motion transitions. Here’s how to do it:
- Split your video at the moment you want to slow down.
- Select Speed → Normal, then decrease the value to create slow motion.
- Enable Smooth Slow Motion for better quality.
- To create dramatic changes, combine slow motion with sudden fast-motion cuts.
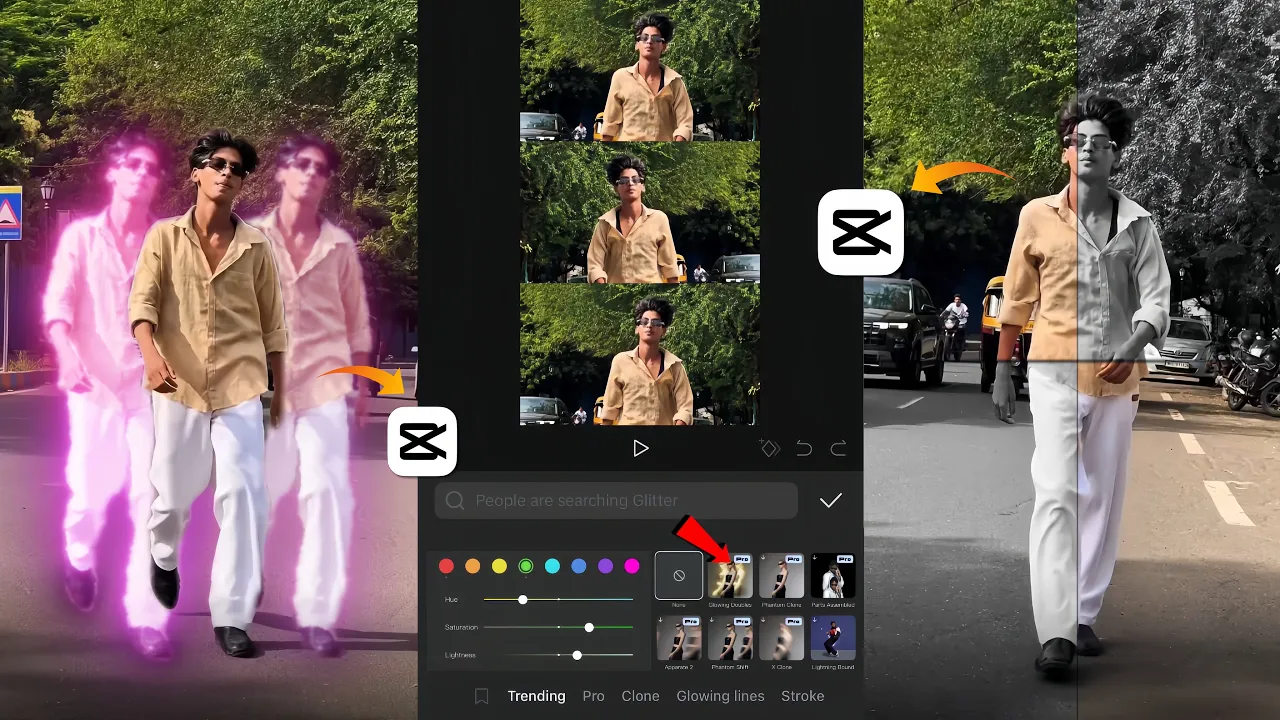
Step 4: Adding Effects & Transitions
Effects play a huge role in making your reel stand out. In the CapCut CPK app, you’ll find multiple categories:
- Blur Effects: Popular options include Hello Blur and Galaxy Blur.
- Animations: Use “In” or “Out” animations for smooth scene transitions.
- Body Effects: Highlight movements for a more cinematic look.
👉 Check out the official CapCut Effects Library for inspiration.
Step 5: Color Grading & Filters
Good color grading makes your video look polished and professional. Here’s how:
- Go to Adjustment → increase Sharpen slightly (keep around 25 to avoid quality loss).
- Choose the right HSL settings depending on your footage colors.
- Apply a filter that matches your video’s mood—don’t just add random filters, test which one fits best.
👉 For deeper learning, explore this Adobe Color Grading Guide.
Final Look & Export
After applying slow motion, effects, transitions, and filters, your video will be ready for Instagram. Export in 1080p or higher for best quality. Once uploaded, your reel will have that same viral, trending style you’ve seen creators use.
Conclusion
That’s it, friends! With just a few simple steps inside CapCut (CPK app), you can create next-level Instagram Reels that look professional and engaging. Try experimenting with music syncing, speed ramps, blur effects, and color grading to make your videos stand out from the crowd.
If you found this tutorial helpful, please give it a like and don’t forget to subscribe for more editing guides. See you in the next video.