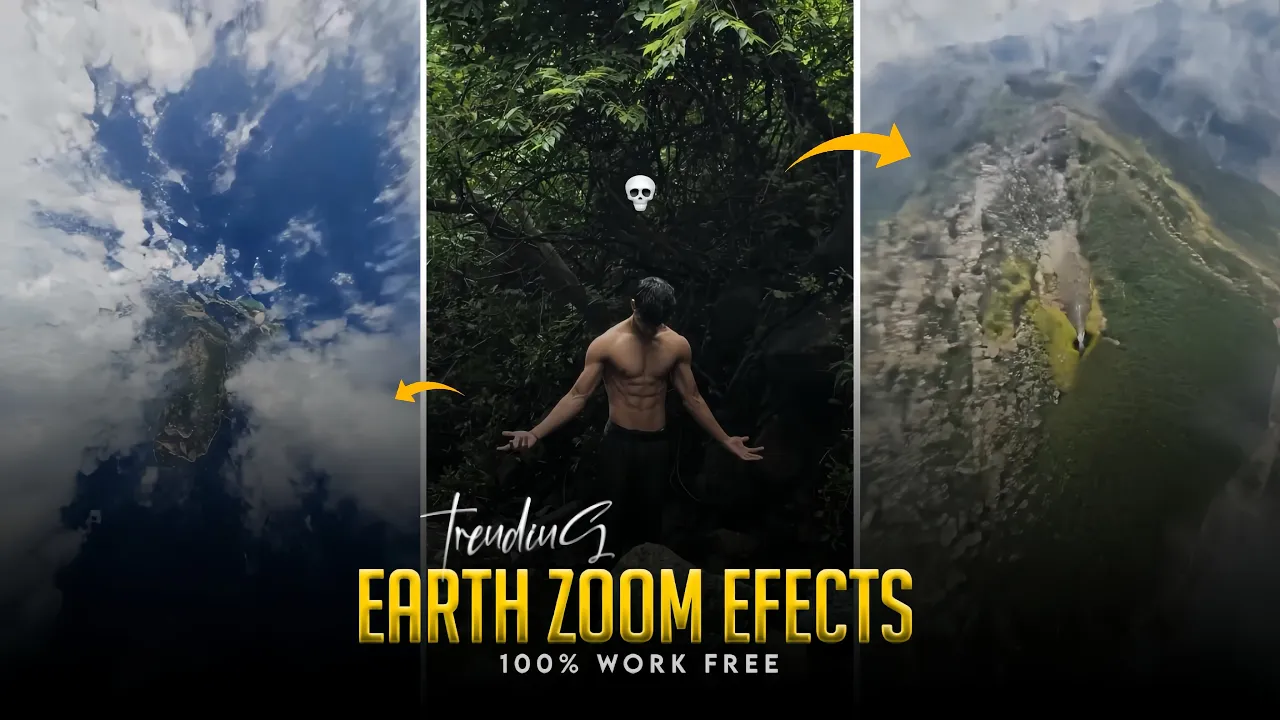
The ArZoom effect is currently one of the most popular visual effects trending across Instagram and YouTube Shorts. Many creators struggle with it, thinking it is complicated. But the truth is—you can create this effect in just a few minutes with the right tools. In this blog post, I’ll show you how to create the ArZoom effect step by step, using free tools and a simple editing process. By the end, you’ll have a professional-quality video ready to share on social media.
What is the ArZoom Effect?
The ArZoom (Earth Zoom Out) effect is a visual transition where your photo or video zooms out into the Earth, giving it a cinematic zooming perspective. It looks complicated, but thanks to HFD AI and editing apps like CapCut, anyone can create it with ease.
Step 1: Access HFD AI
Open your browser (Google Chrome or any other) and search for HFD AI. Once on the website, click on Try Free and sign in with your Google account. After signing in, you’ll see multiple visual effects options. Select the Earth Zoom Out effect.
Now, upload the photo you want to transform into the ArZoom effect. After uploading, click on Generate. Some users face a payment prompt here, but don’t worry—you can bypass this issue using a free VPN connection.
Step 2: Use a Free VPN to Bypass Restrictions
If you are asked for payment, simply connect a free VPN (like ProtonVPN or Windscribe). After connecting, go back to HFD AI, re-upload your photo, and click Generate again. Your video will start processing automatically.
Depending on your internet speed, it usually takes around 2–3 minutes for the effect to render. Once done, your ArZoom effect video will be ready for download.
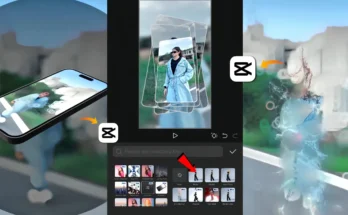
Step 3: Edit the Video in CapCut (CPK App)
After downloading the video, import it into the CapCut app. Here’s what you need to do:
- Add the generated video into your CapCut timeline.
- Apply the Reverse option to make the zoom appear smoother.
- Adjust the video resolution and background to fit your project.
- Insert the original photo you used and align it correctly.
- Add background music for a more engaging effect (you can use free music from Pixabay Music).
Step 4: Enhance with Extra Effects
To make the ArZoom effect more cinematic, add the following effects:
- Shake Effect – adds a dynamic transition.
- Black Plus Two – creates a smooth dark overlay for depth.
These effects make your video look professional and trending-ready. Once applied, export your video in high quality.
Final Thoughts
And that’s it—you’ve successfully created the ArZoom effect! The whole process takes less than 10 minutes once you get the hang of it. This effect is not just trending, but also helps your content stand out on Instagram Reels and YouTube Shorts. If you follow these steps carefully, you won’t face any issues.
I hope this tutorial helped you. If you liked it, don’t forget to share it with your friends. For more editing tutorials and trending effects, stay tuned. Happy editing!
Pro Tip: Always keep experimenting with different effects in CapCut and AI tools like HFD AI. Combining them can give you unique video styles that go viral much faster.