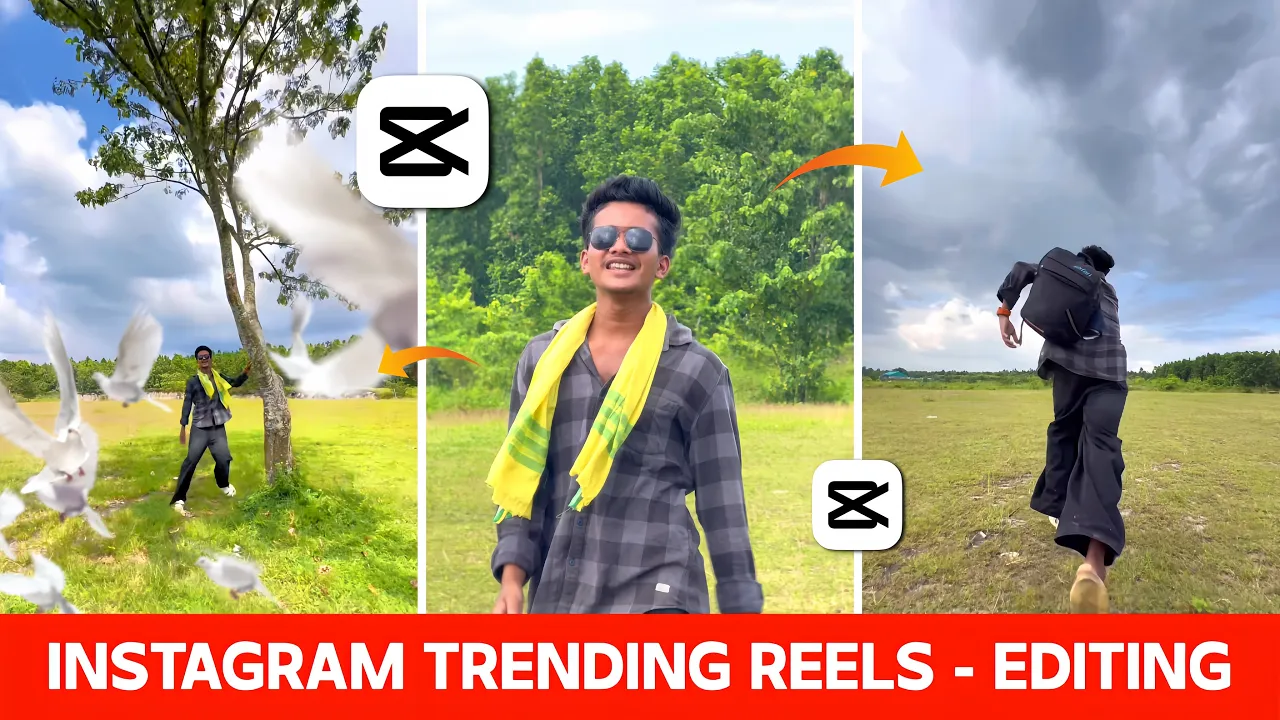
How to Edit Trending Instagram Videos in CapCut (Step by Step Guide)
Hello guys! First of all, watch the video carefully because today we are going to learn how to edit this exact video. The video you just saw belongs to one of my friends, and I will mention his Instagram ID below. Make sure to check him out because he has created an amazing video.
Currently, this Assamese song is trending a lot on Instagram. So, let’s start by looking at how my friend actually shot the video.
Step 1: Shooting the Video
As you can see in the first raw video clip, the process is very simple. If you want to create similar videos, you also need to shoot your video in the same way. This forms the base before we move to editing.
Step 2: Importing into CapCut
For editing, we will use the CapCut application. Open the app, create a new project, and add all your video clips. After that, import the background music — here, we are using the Assamese song that is trending.
Step 3: Adjusting Video Clips
After adding music, set your video clips according to the beats. If the first clip doesn’t look good, replace it with another. Drag and place the video clip at the starting point, trim extra parts, and sync it properly.
Step 4: Using Slow Motion
Not every clip needs slow motion. If there is lip-syncing, do not use slow motion as it will disturb the sync. For non-lip-sync clips, apply smooth slow motion using CapCut’s Speed → Custom option and select Smooth Slow Mo for better quality.
Step 5: Matching with Music Beats
Slow-motion clips usually become longer, so you need to trim them based on the music beats. Always check where the beat drops in the music and split/delete the extra parts. This ensures your video syncs perfectly with the music.
Step 6: Editing Multiple Clips
Repeat the same process with the second, third, and other clips. Remember:
- If the video has lip-syncing → No slow motion.
- If the video has no lip-syncing → Add smooth slow motion.
- Always trim extra parts according to the music beats.
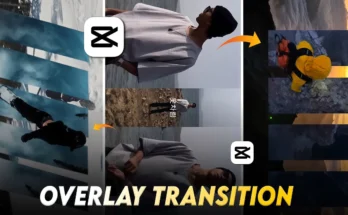
Step 7: Adding Animations & Effects
Once clips are arranged with music, now comes the fun part — adding animations and effects.
- Select your video → Tap on Animation → Choose any animation effect you like.
- Add transition effects between clips for smoother flow.
- For example, you can use the Cut Open transition effect or the Three Layer Effect from the effect section.
Step 8: Sky Replacement & Extra Effects
If your video needs more creativity, you can also replace the sky using masking. Simply add a sky image overlay → Use horizontal masking → Adjust it. You can also add effects like Bars Effect from the decoration section for extra visual appeal.
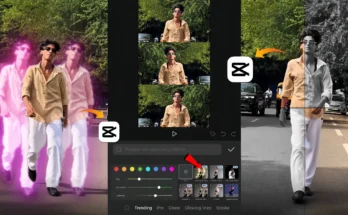
Step 9: Final Touch – Color Grading
Finally, perform color grading to give your video a cinematic look. Adjust brightness, contrast, saturation, and filters as per your style.
Final Result
After completing all steps, your video will look professional and ready to go viral on Instagram. Below is how the final video came out on screen (as shown in the tutorial).
Conclusion
So guys, that’s the entire editing process using CapCut — from shooting to applying effects and color grading. Follow these steps and you can easily create trending reels for Instagram. Don’t forget to check out my friend’s Instagram profile for more awesome edits.
For more video editing tutorials and tips, check out: